
Introduction to Github
Github? Why?
Github is an amazing code sharing website - and I do not only say that because this page is hosted by them.
It allows to look at source code, post issues, have feedback on your work, keep track of changes (this is the purpose of any subversion - or SVN).
It also allows virtually anyone to work on your code, make improvements and submit them - with approval of the owner. It is also extremely powerful when linked to Travis-CI (we’ll get there after) to check if your code is behaving properly.
However, getting started with Github is not always easy even if some tutorials exist here or here .
Commands
There are few commands to know : add,commit,push and pull. This is what you will do most of the time.
Creating a repository
One of the first things to do is to create a repository, and (unfortunately) it is one of the most challenging tasks also!
Once on the homepage, you can click on new repository:
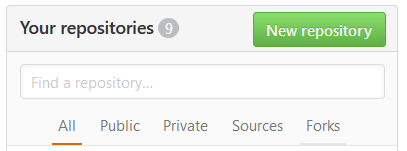
You should get to this page:

To be guided by Github, you should untick “Initialize repository with a readme”, as it will give you a list of way to start your repository. With Windows, the fastest is to initialize with the desktop, on Unix, you can paste the commands given, we’ll explain it after. For the next few lines, I’ll assume that you are in a directory where all the code you want to update is stored.
echo "# test" >> README.md
git init
git add README.md
git commit -m "first commit"
git remote add origin https://github.com/Username/Repo.git
git push -u origin master
Let’s go through:
echo "# test" >> README.mdAppends (creates if the file doesn’t exist) a README.md file which contains: # test
git initCreates an empty .git directory, that is used to track the changes (in fact it tracks the files like snapshots, whereas other SVN usually track differences).
git add README.mdTells git you want to add this file to your next commit (= the next update you will make). If you wanted to add all files to your next commit you can run:
git add .Finally we are there! Your first commit:
git commit -m "Your first commit, a readme"Note that typing git commit will open vim text editor so that you can write the text of your commit inside.
A good commit text explains what are the updates (so that you don’t have to go through the code all over again!)
The next step will link the folder on Github servers and your local directory:
git remote add origin https://github.com/Username/Repo.gitFinally you want to make the changes publish, i.e. push them on Github’s servers:
git push -u origin masterYou may have to sign in at this point: unless you change parameters, you are the only one to make or accept changes in your online repository.
Second commit
Now that everything works, we’ll see how to make a second commit (and the same will work for the rest of the time):
echo "I'm expanding the readme!" >> README.md
git .
git commit -m "Readme expanded"
git push
As simple as that!
What if I made changes on-line?
Remember when I said that the four commands were add, commit, push, pull? And we didn’t use pull yet… If changes are made on the on-line repository, and you want (have to) make them effective in your local directory, nothing so simple:
cd /path/to/repo
git pull
That’s it!
Where can I see the difference between two versions?
Online
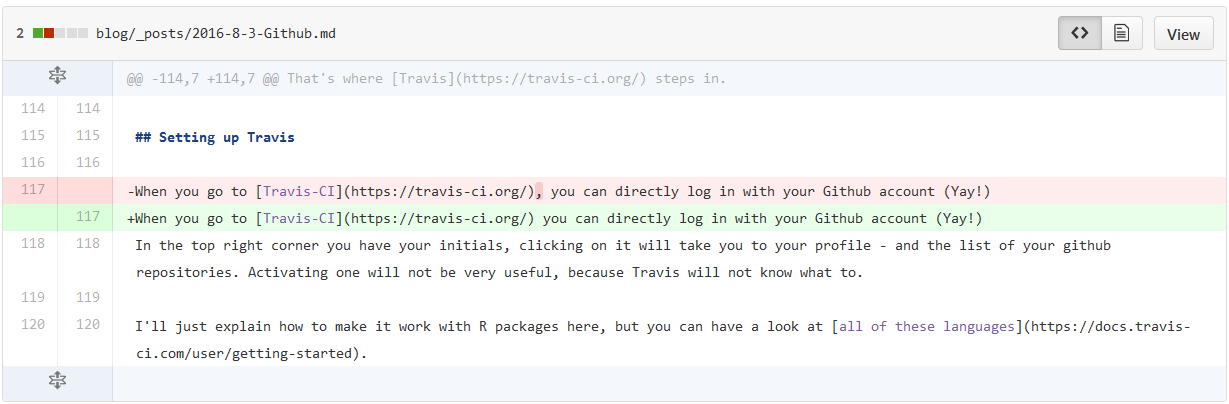
In your repository, clicking on the name of a commit will get you to a page will the list of all files changed and the the additions (in green) and deletions (in red), like this:
Desktop
In the desktop version, you need to select a commit - one of the circles on top of you program - which will appear in blue:
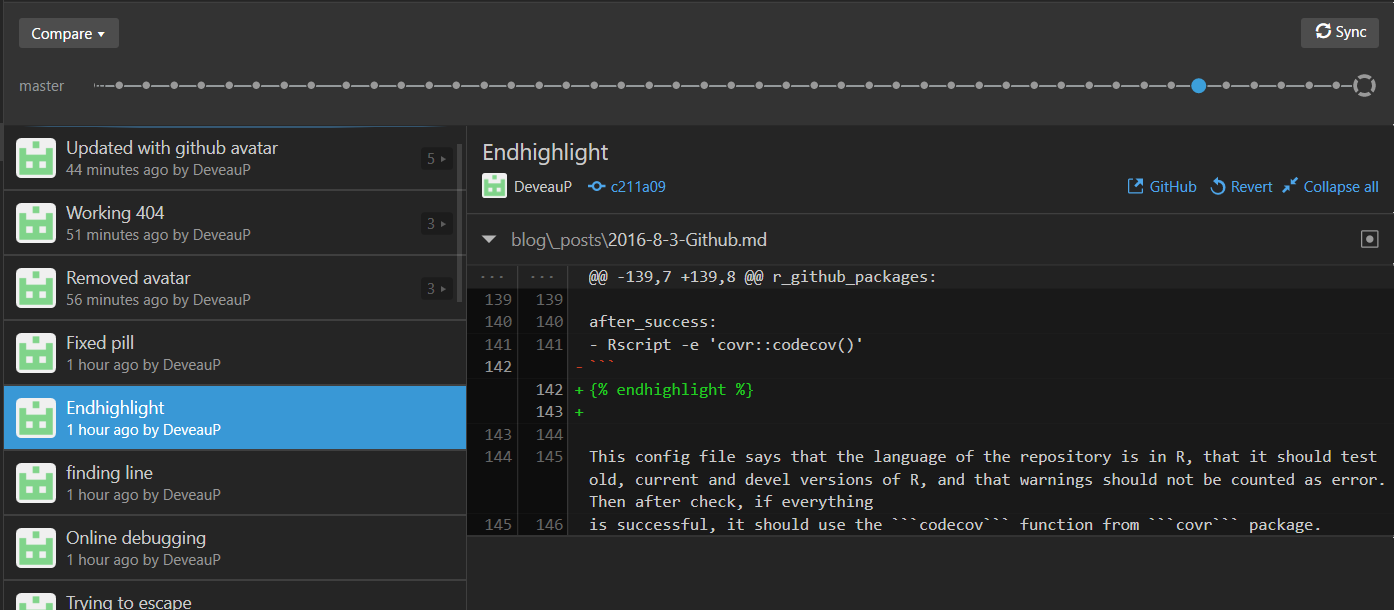
Clicking on the name of a file will expand the file to show the changes that have been made there, color coded.
Travis who?
As I started to explain at the beginning, it can be useful to check that your code always behaves in a proper way. Imagine that your package computes mean of a vector, but for debugging you assigned the value of the result, and never changed it back. Unless you test all functions every time you make a change in your package, this could go unnoticed. This can happen even more frequently when you are not the only one to work on your package! That’s where Travis steps in.
Setting up Travis
When you go to Travis-CI you can directly log in with your Github account. ** Yay! ** In the top right corner you have your initials, clicking on it will take you to your profile - and the list of your Github repositories. Activating one will not be very useful, because Travis won’t know how to interpret it.
I’ll just explain how to make it work with R packages here, but you can have a look at all of these languages .
Adding a yaml config file
We are going to create a .travis.yml file:
language: R
sudo: false
cache: packages
r:
  - oldrel
  - release
  - devel
warnings_are_errors: false

r_github_packages:
  - jimhester/covr

after_success:
  - Rscript -e 'covr::codecov()'
This config file says that the language of the repository is in R, that it should test old, current and devel versions of R, and that warnings should not be counted as error. Then after check, if everything
is successful, it should use the codecov function from covr package.
Basically, Travis will do here is check that your package is properly written, with documentation, etc. Just as would devtools::check() would, but here the results of the checking are public.
What about unit testing?
If you want to have a look at tests run on Travis that are much more comprehensive, I recommend the .yml from xgboost package
I want to have a pill in my readme too!
Your build is passing, and you want to tell the world - and you should! You can add a “pill” to your readme saying just that, with:
[[ Build Status ](https://travis-ci.org/Username/Repo.svg?branch=master)](https://travis-ci.org/Username/Repo)
Now you have a pill automatically updated giving the status of the current build (+/- checking time), and on clicking the pill it gets you to the log of the checking. How awesome is that?
I guess you could say it’s : ![]()
What can I do next?
If you want to learn more on continuous integration, you can have a look at unit tests. The next blog post will be on ggplot.
If you have more questions or suggestions on this or posts for the blog, feel free to leave a comment below!